
Assisted installation
Two steps to start working with CloudIA: set up your computer and let your AI client do the installation with you. You paste it one sentence with the instructions and it takes care of the rest: it checks which programs you are missing and installs them, downloads your project’s repository and walks you through CloudIA’s installer.
1. Set up your computer
Section titled “1. Set up your computer”You need two things on your computer before you start: an authenticator app on your phone and your AI client installed, with your session signed in.
Authenticator app
Section titled “Authenticator app”The platform, when you sign in, and CloudIA, on its first connection, will ask you for a six-digit code generated by an authenticator app on your phone: you cannot get started without it. If your organisation already uses one, that is the one to use. If you have none, either of these two will do — install it on your phone from its official store:
| App | iPhone | Android |
|---|---|---|
 Google Authenticator · Google |
App Store | Google Play |
 Microsoft Authenticator · Microsoft |
App Store | Google Play |
An authenticator app is a phone app that generates one-time codes of six digits that change every few seconds. It is the second factor of your sign-in: besides your password, you prove you have your phone. So even if someone got your password, they could not get in without that code. It works offline and sends no SMS: the app computes the code by itself.
Installing it is enough: you do not have to set anything up yet. When the platform asks you to turn on the second factor, you will scan a code with it.
Install your AI client and sign in
Section titled “Install your AI client and sign in”It is the program, installed on your computer, from which you will talk to CloudIA. One is enough. An assistant you use inside the browser will not do: it has to be able to connect to your organisation’s connectors, and only the ones on this list can.
Use the client your organisation has chosen. If you are not sure which one it is, ask the person in charge in your organisation. If none has been set, you can use any of these four options:
Claude Desktop Recommended
Desktop application. It is the one we recommend: it leaves the fewest steps afterwards and is the most comfortable if you do not usually work in the terminal. It installs like any other application and needs nothing else — neither Node.js nor development tools.
-
Download it from claude.com/download. The page detects your system and offers you the right download.
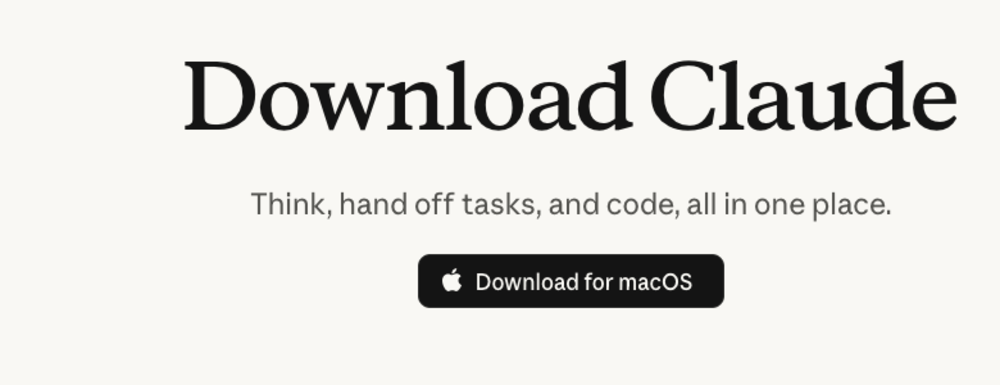
This is the download page. The button changes depending on the system you visit it from. -
Install it. On macOS, open the file and drag Claude to the Applications folder. On Windows, run the installer and accept the default options.
-
Open it and sign in with the Claude account your organisation has given you, with a corporate licence (Team or Enterprise). Personal accounts are not allowed: work with CloudIA stays under your organisation’s plan, with its terms and its control.
Claude Code
Anthropic’s terminal client. You talk to CloudIA from the terminal, inside your repository’s folder. It is the natural option if you already work in the terminal. The official installer is self-contained: it does not need Node.js or anything else, and it updates itself.
Open a terminal and paste this command:
curl -fsSL https://claude.ai/install.sh | bashWhen it finishes, close the terminal and open a new one.
Open PowerShell and paste this command:
irm https://claude.ai/install.ps1 | iexWhen it finishes, close PowerShell and open a new window. It is worth having Git for Windows installed (you check it further down, under «git») so that Claude Code can run commands on your computer.
Check that it answers, in a new terminal:
claude --versionThe first time you open it, type claude in your repository’s folder: the browser will open to sign in with the Claude account your organisation has given you, with a corporate licence (Team or Enterprise). Personal accounts are not allowed.
For other ways to install it (Homebrew, WinGet, Linux) and for troubleshooting, see the official Claude Code guide.
Leave it installed and signed in with your organisation's account. In step 2 you will ask it to install CloudIA with you.GitHub Copilot
GitHub Copilot desktop application. It is the equivalent of Claude Desktop within GitHub: an application that installs like any other and from which you work with agents without going through the terminal. It is available for macOS, Windows and Linux. Your organisation must have an active GitHub Copilot licence, and you need a GitHub account with your corporate email.
-
Download it from github.com/features/copilot. The «Download» button offers the version for your system; if it is not yours, open «Other download options».
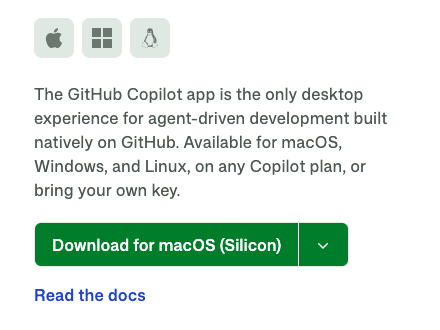
This is the application page (shown in Spanish). The button changes depending on the system you visit it from. -
Install it. On macOS, open the file and drag the application to the Applications folder. On Windows, run the installer and accept the default options.
-
Open it and sign in to GitHub with the account your organisation has given you, with a Copilot Business or Enterprise licence. Personal accounts are not allowed: with them you will not see your organisation’s connectors.
If you already work in Visual Studio Code, Copilot also works inside the editor with the GitHub Copilot extension. For this guide the desktop application is enough.
Leave it installed and signed in with your organisation's account. In step 2 you will ask it to install CloudIA with you.Copilot CLI
GitHub Copilot’s terminal client. You talk to CloudIA from the terminal, inside your repository’s folder. The official installers are self-contained: they do not need Node.js. Besides the licence, your organisation must have Copilot CLI enabled in its Copilot settings; if it tells you it is not available when you sign in, that is why.
Open a terminal and paste this command:
curl -fsSL https://gh.io/copilot-install | bashWhen it finishes, close the terminal and open a new one.
Copilot CLI needs PowerShell 7 (its documentation requires version 6 or later). The PowerShell that comes with Windows is 5.1 and will not do. Check which one you have:
$PSVersionTable.PSVersionIf the first number is lower than 6, install PowerShell 7 with this command and, when it finishes, open a new «PowerShell 7» window from the Start menu (not «Windows PowerShell»):
winget install --id Microsoft.PowerShell --source wingetOnce in PowerShell 7, install Copilot CLI:
winget install GitHub.CopilotWhen it finishes, close the window and open a new one.
Check that it answers, in a new terminal:
copilot --versionThe first time, type copilot in your repository’s folder and, when asked, the command /login: it will guide you to sign in to GitHub with the account your organisation has given you, with a Copilot Business or Enterprise licence. Personal accounts are not allowed.
For other ways to install it (Homebrew, npm) and for troubleshooting, see the official Copilot CLI guide.
Leave it installed and signed in with your organisation's account. In step 2 you will ask it to install CloudIA with you.2. Install CloudIA with your assistant
Section titled “2. Install CloudIA with your assistant”Now it is your AI client that does the installation with you. You only answer what it asks.
Before you start, have at hand
Section titled “Before you start, have at hand”| What you need | Where you get it |
|---|---|
| Your AI client | Installed and signed in with your organisation’s account, as in step 1. |
| Your repository’s address on GitHub | The person in charge of CloudIA in your organisation gives it to you. It is something like organisation/project-name. |
| Your platform | Your organisation’s identifier in CloudIA. Your organisation gives it to you. |
| Your authenticator app | On your phone, installed in step 1. You will be asked for its 6-digit code. |
1. Open your AI client
Section titled “1. Open your AI client”Choose the one you use:
Claude Desktop — only from the Code tab
Open the Code tab, create a new session and choose your home folder, the one with your name, as its folder.
Claude Code
Open a terminal (how to open one), type claude and press Enter. The first time it will ask you to sign in with your organisation’s Claude account.
GitHub Copilot desktop application
Open the application and type directly in the chat: there is no need to choose a folder.
Copilot CLI
Open a terminal (how to open one); on Windows, the one called PowerShell 7, not «Windows PowerShell». Type copilot and press Enter.
The first time, sign in: type /login, press Enter and follow its instructions with your organisation’s GitHub account.
When you have it, go on to point 2: Paste the start phrase.
2. Paste the start phrase
Section titled “2. Paste the start phrase”Copy this sentence with the button on the right, replace YOUR-PLATFORM with your organisation’s identifier and YOUR-EMAIL with your corporate email, and send it to your AI client:
Download https://cloudframework.io/cloudia/setup.md with curl -L and follow its instructions to install CloudIA. My platform is YOUR-PLATFORM and my email is YOUR-EMAIL. Please talk to me in English.⚠ Do not write anything else in the sentence: no passwords, no codes, no tokens. Your AI client will never ask you for them in the conversation.
From then on, your AI client guides you step by step. You will only have to:
-
Tell it your repository’s address, which GitHub account to use (your organisation’s) and which folder to save it in. It will suggest a folder name, for example CloudIA in your home folder, but you can choose whatever you like.
-
Accept the system windows and the permission prompts. The installations take a few minutes: do not stop anything.
-
Paste the installer’s command into the terminal it opens for you and type the code from your authenticator app there. The installer names Google Authenticator as an example, but any will do: use yours. The installer talks in Spanish; your AI client can explain any message.
What this sentence does
It asks your AI client to download a CloudIA instructions document and follow it. The document tells it how to take you by the hand: check what you have, install what is missing, download your repository and guide you through the installer. With the platform and the email in the sentence, it does not ask you for them again. The document is written in Spanish for the assistant; the sentence asks it to talk to you in English.
When you have it, go on to point 3: Start working.
3. Start working
Section titled “3. Start working”Your AI client will confirm that CloudIA is connected and ready and in which folder. From now on, always open it in that folder:
| If you use… | Do this |
|---|---|
| Claude Desktop | In the Code tab, click New and select your project’s folder: it will stay on the left as a project. Always create and work on your sessions from that project. |
| Claude Code | Close the installation session with /exit, go into your project’s folder with cd (type cd, a space and drag the folder to the terminal) and type claude. |
| GitHub Copilot app | Open a project, choose Open folder and select your project’s folder. If the app asks whether you trust the repository, click Trust repository: otherwise it will not load CloudIA’s connectors. Always create and work on your sessions from that project, and set up each session like this: (a) choose where the session works: depending on the app version you will see it as «Where to run this session» → Local repository or as «Where to work» → Current checkout; choose that one and do not use New worktree or Cloud, because the session would work on a separate copy of the repository or remotely and could not read the configuration of CloudIA’s connectors, which only lives in your folder; (b) choose a capable model, one of the most advanced in the list; (c) in Context window, choose 1M. |
| Copilot CLI | Close the installation session with /exit, go into your project’s folder with cd (type cd, a space and drag the folder to the terminal) and type copilot. |
-
Write this as your first message:
2fa <authenticator app code>, putting in place of<authenticator app code>the 6-digit code your authenticator app shows at that moment. Without this verification CloudIA cannot do anything: its connectors require it before any query. The code changes every 30 seconds; if it expires, type the new one. It is the only time it is typed in the conversation, and that is correct. -
Then check that the installation works by pasting this message. It will answer with your user, your platform and what each connector returns:
Check that CloudIA works: tell me which user and platform I am connected with, list the CloudIA connectors you have loaded and run a read query on each one, showing me what it returns. If any of them fails, tell me which one and the error. Do not review the repository or propose changes.If a connector fails, it will tell you which one and with what error: pass that message to the person in charge of CloudIA in your organisation. A connector can fail even when the installation is fine, so there is no need to repeat it.
-
From then on, ask it for whatever you need, as you would a colleague.
If something stops halfway
Paste the same start phrase again: your AI client will check what is already done and carry on where you left off. If it tells you it cannot do something for security reasons, it will open a terminal for you to paste it yourself.
Done: CloudIA is now installed. Your tokens are managed on the platform, in the CloudIA module, section Mi dashboard → Conectar CloudIA.